A Hole by Hole Guide to Mono Hills Country Club
With separate tee's for the front nine and back nine, Mono Hills will keep you guessing for all 18 holes.
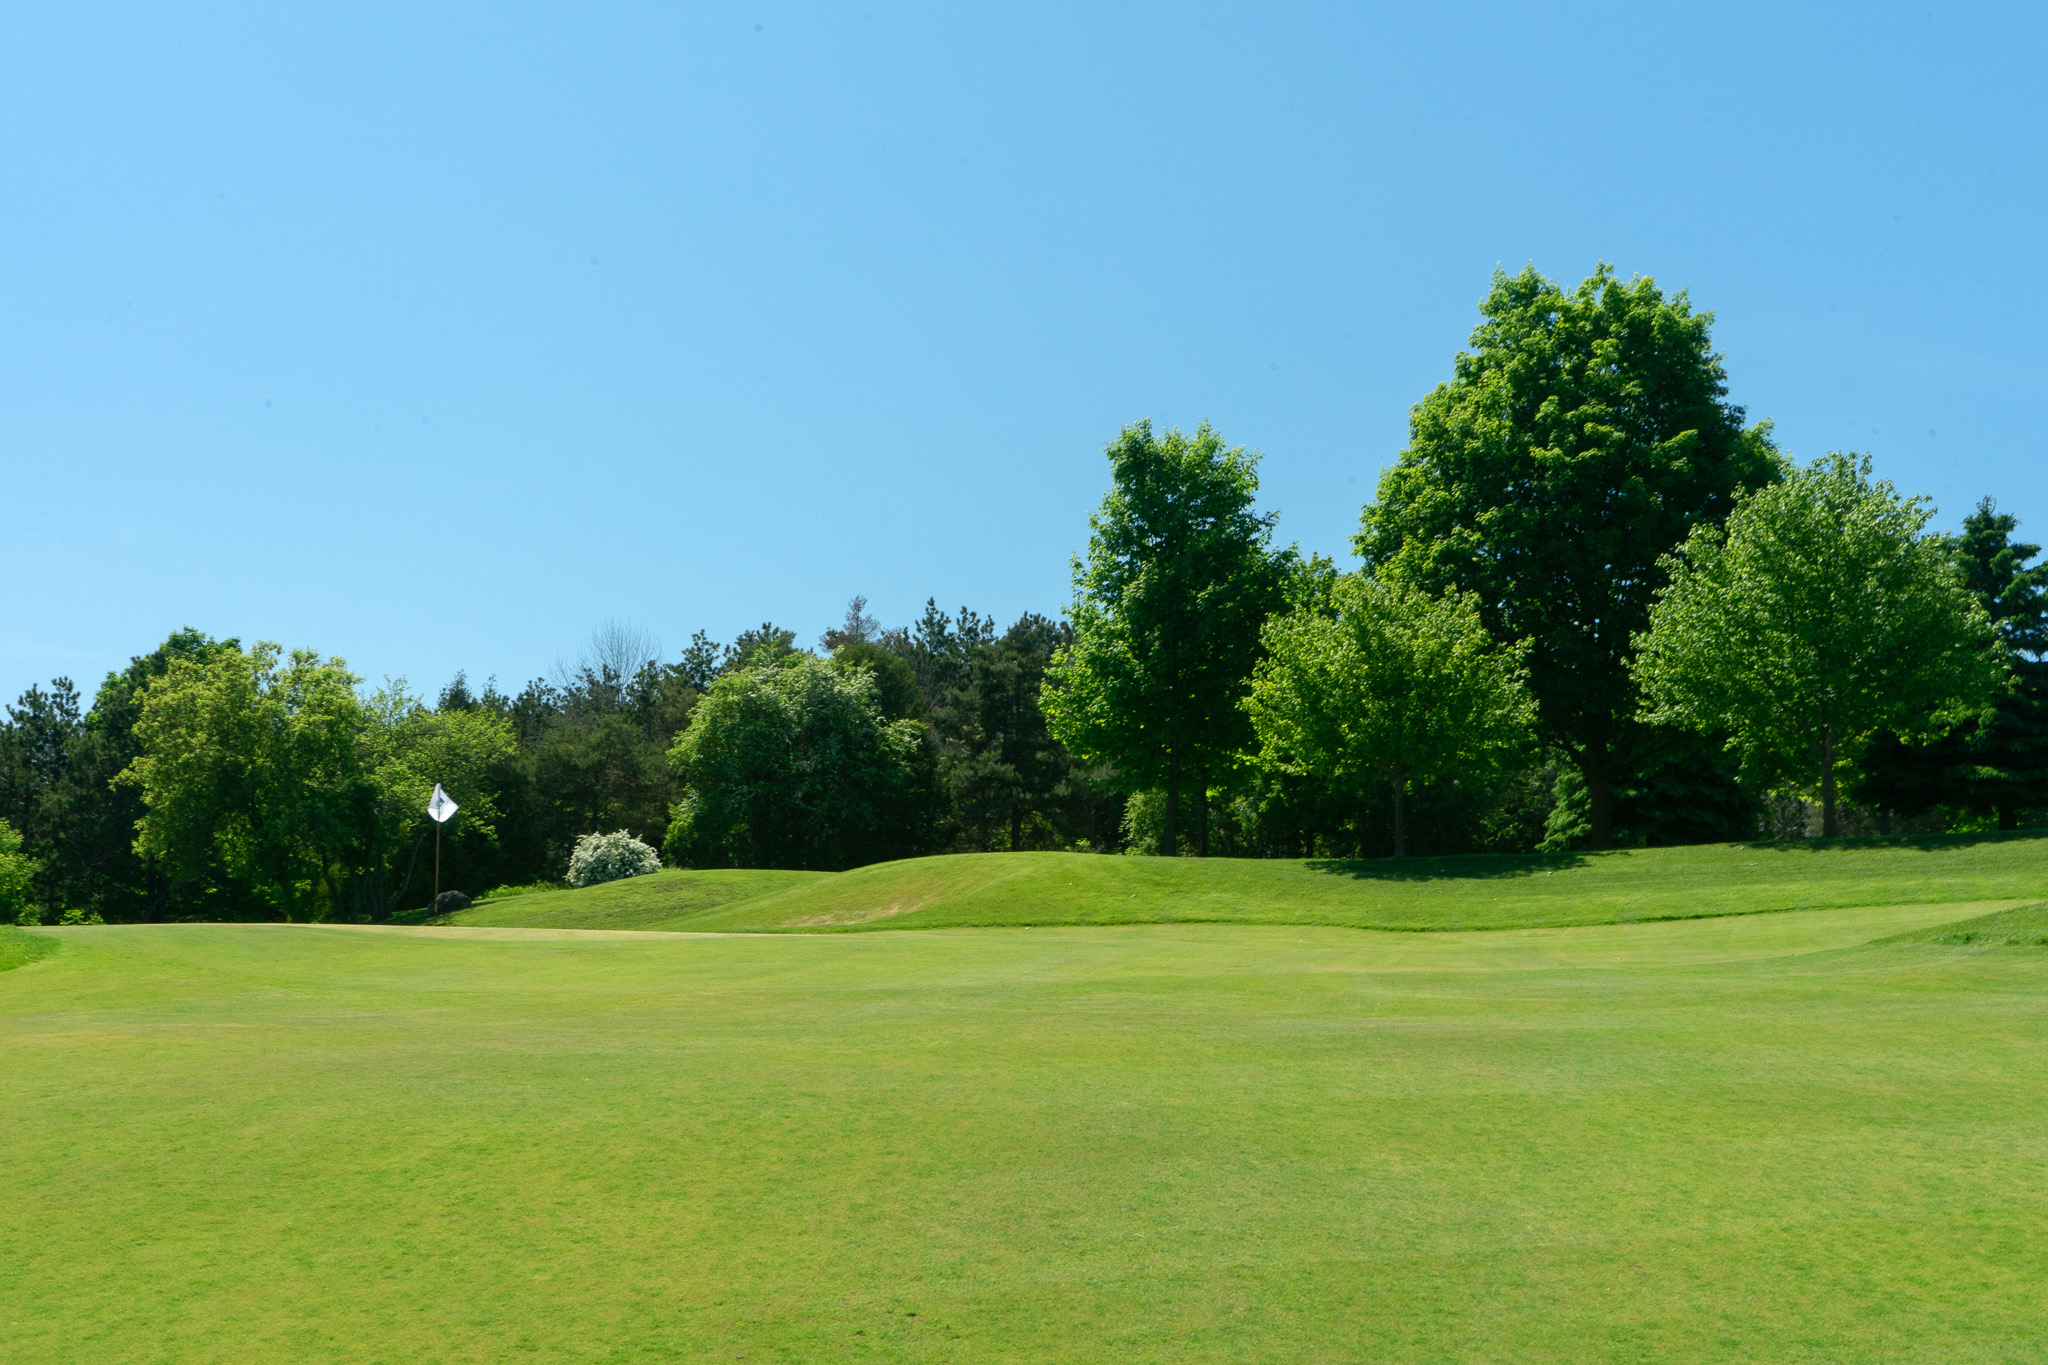
Hole 1: Par 4, 355 yards (Blue) / 270 yards (White)
Hole 10: Par 4, 375 yards (Blue) / 340 yards (White)
Kicking off at Mono Hills is the strategic par 4 first hole. Players face an elevated green that’s perched like a fortress. Precision is paramount here—any short or over-hit approaches can spell early trouble. Remember, PGA rules apply with a fun twist, you can hit till you’re happy on the first tee!”
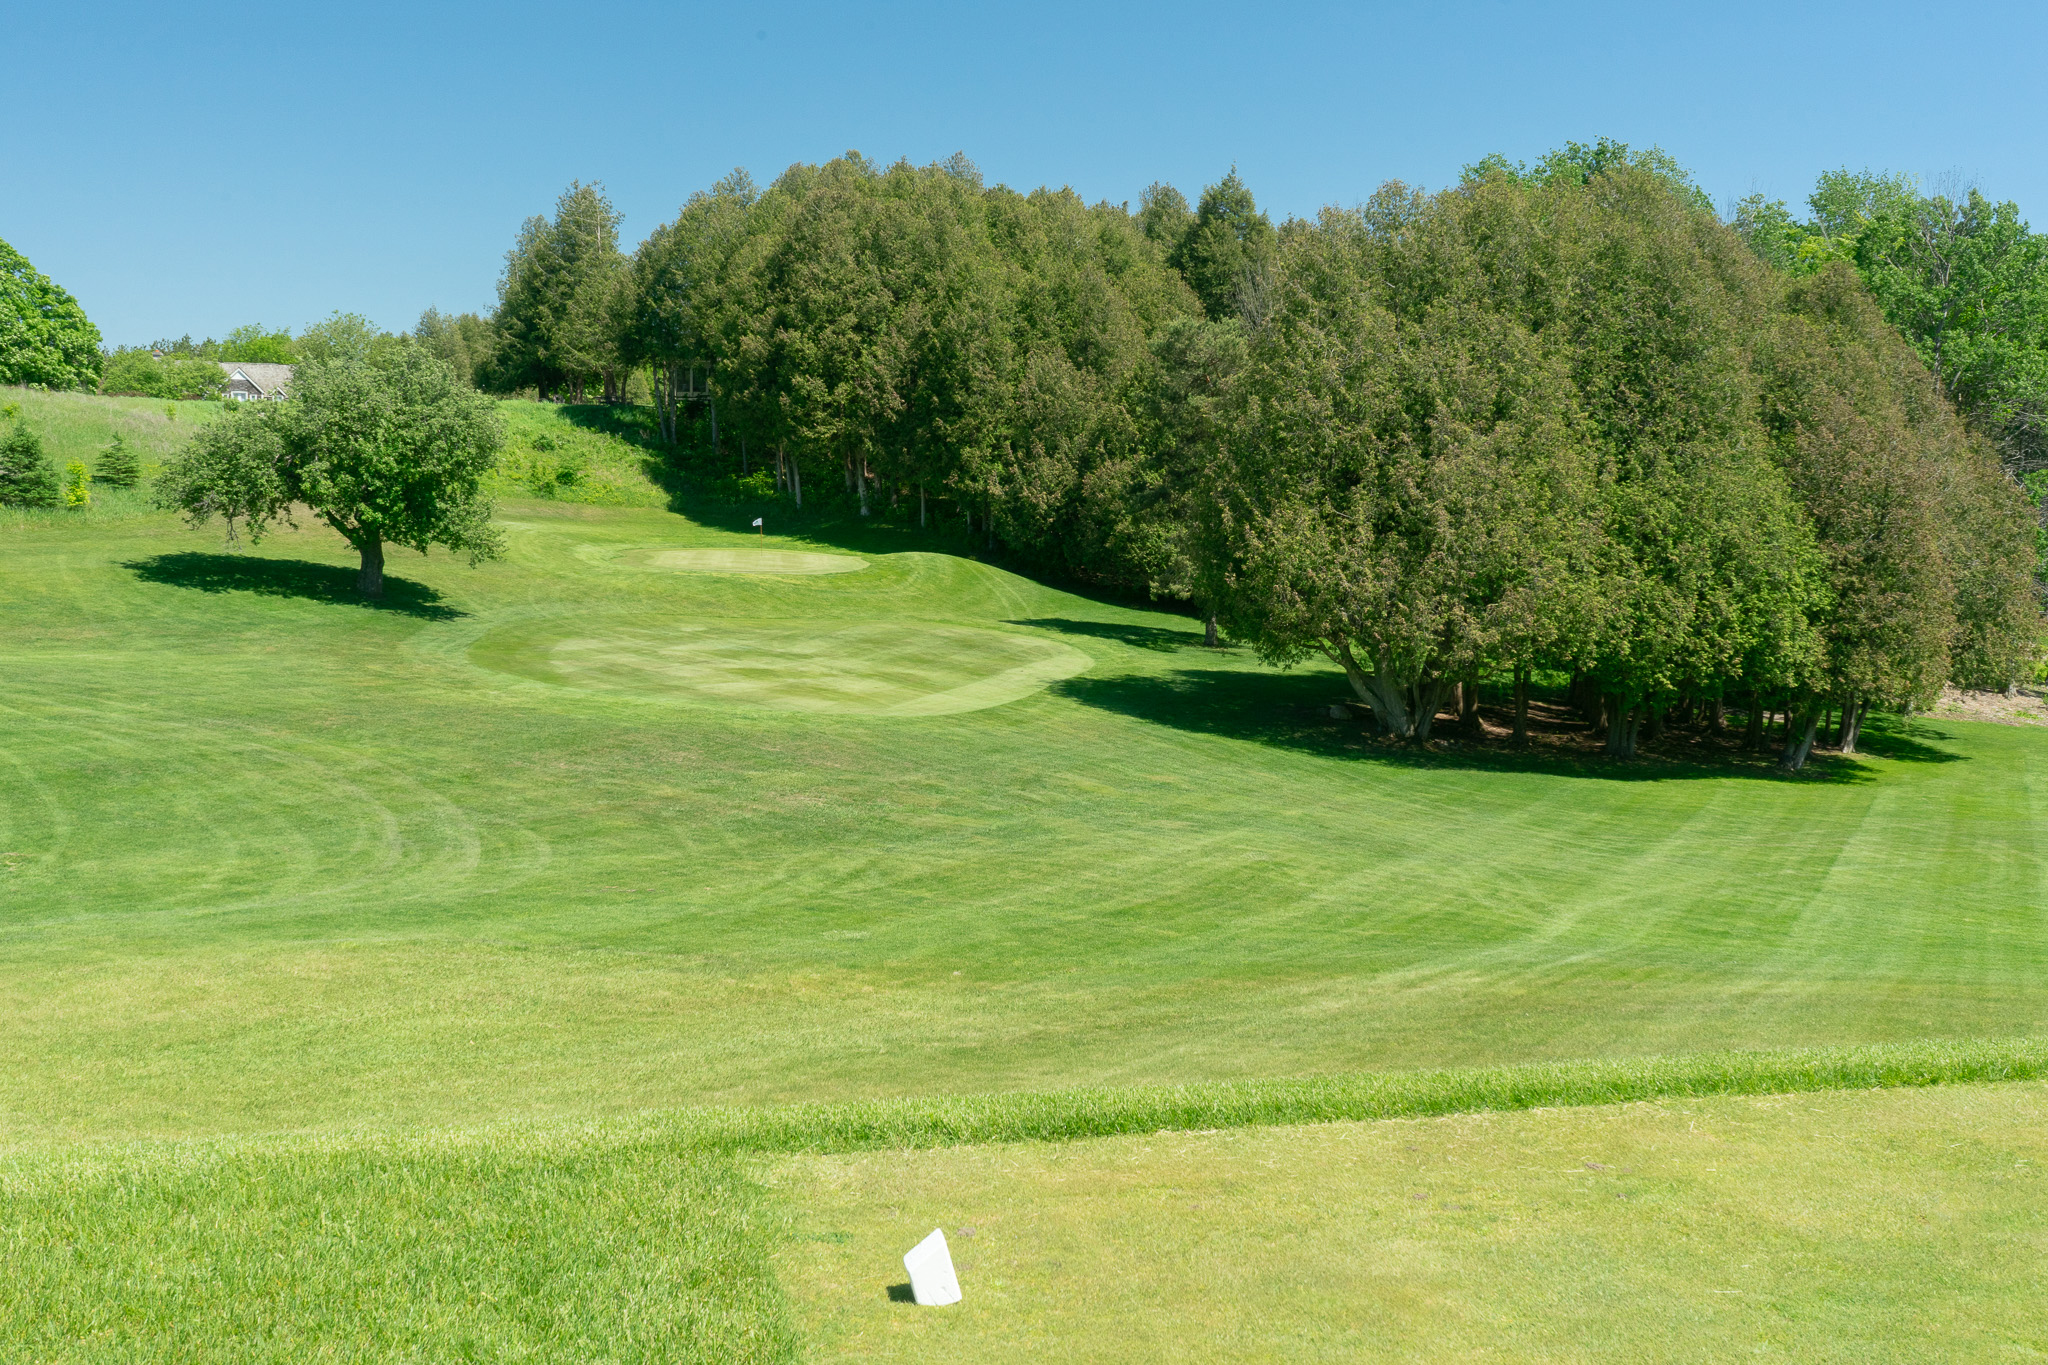
Hole 2: Par 3, 175 yards (Blue) / 160 yards (White)
Hole 11: Par 3, 190 yards (Blue) / 115 yards (White)
The picturesque second hole is a delightful downhill par 3. Club selection is critical as players must navigate the descent perfectly. Miss the mark, and you’ll need that lateral penalty rule—treat all lost balls as such.
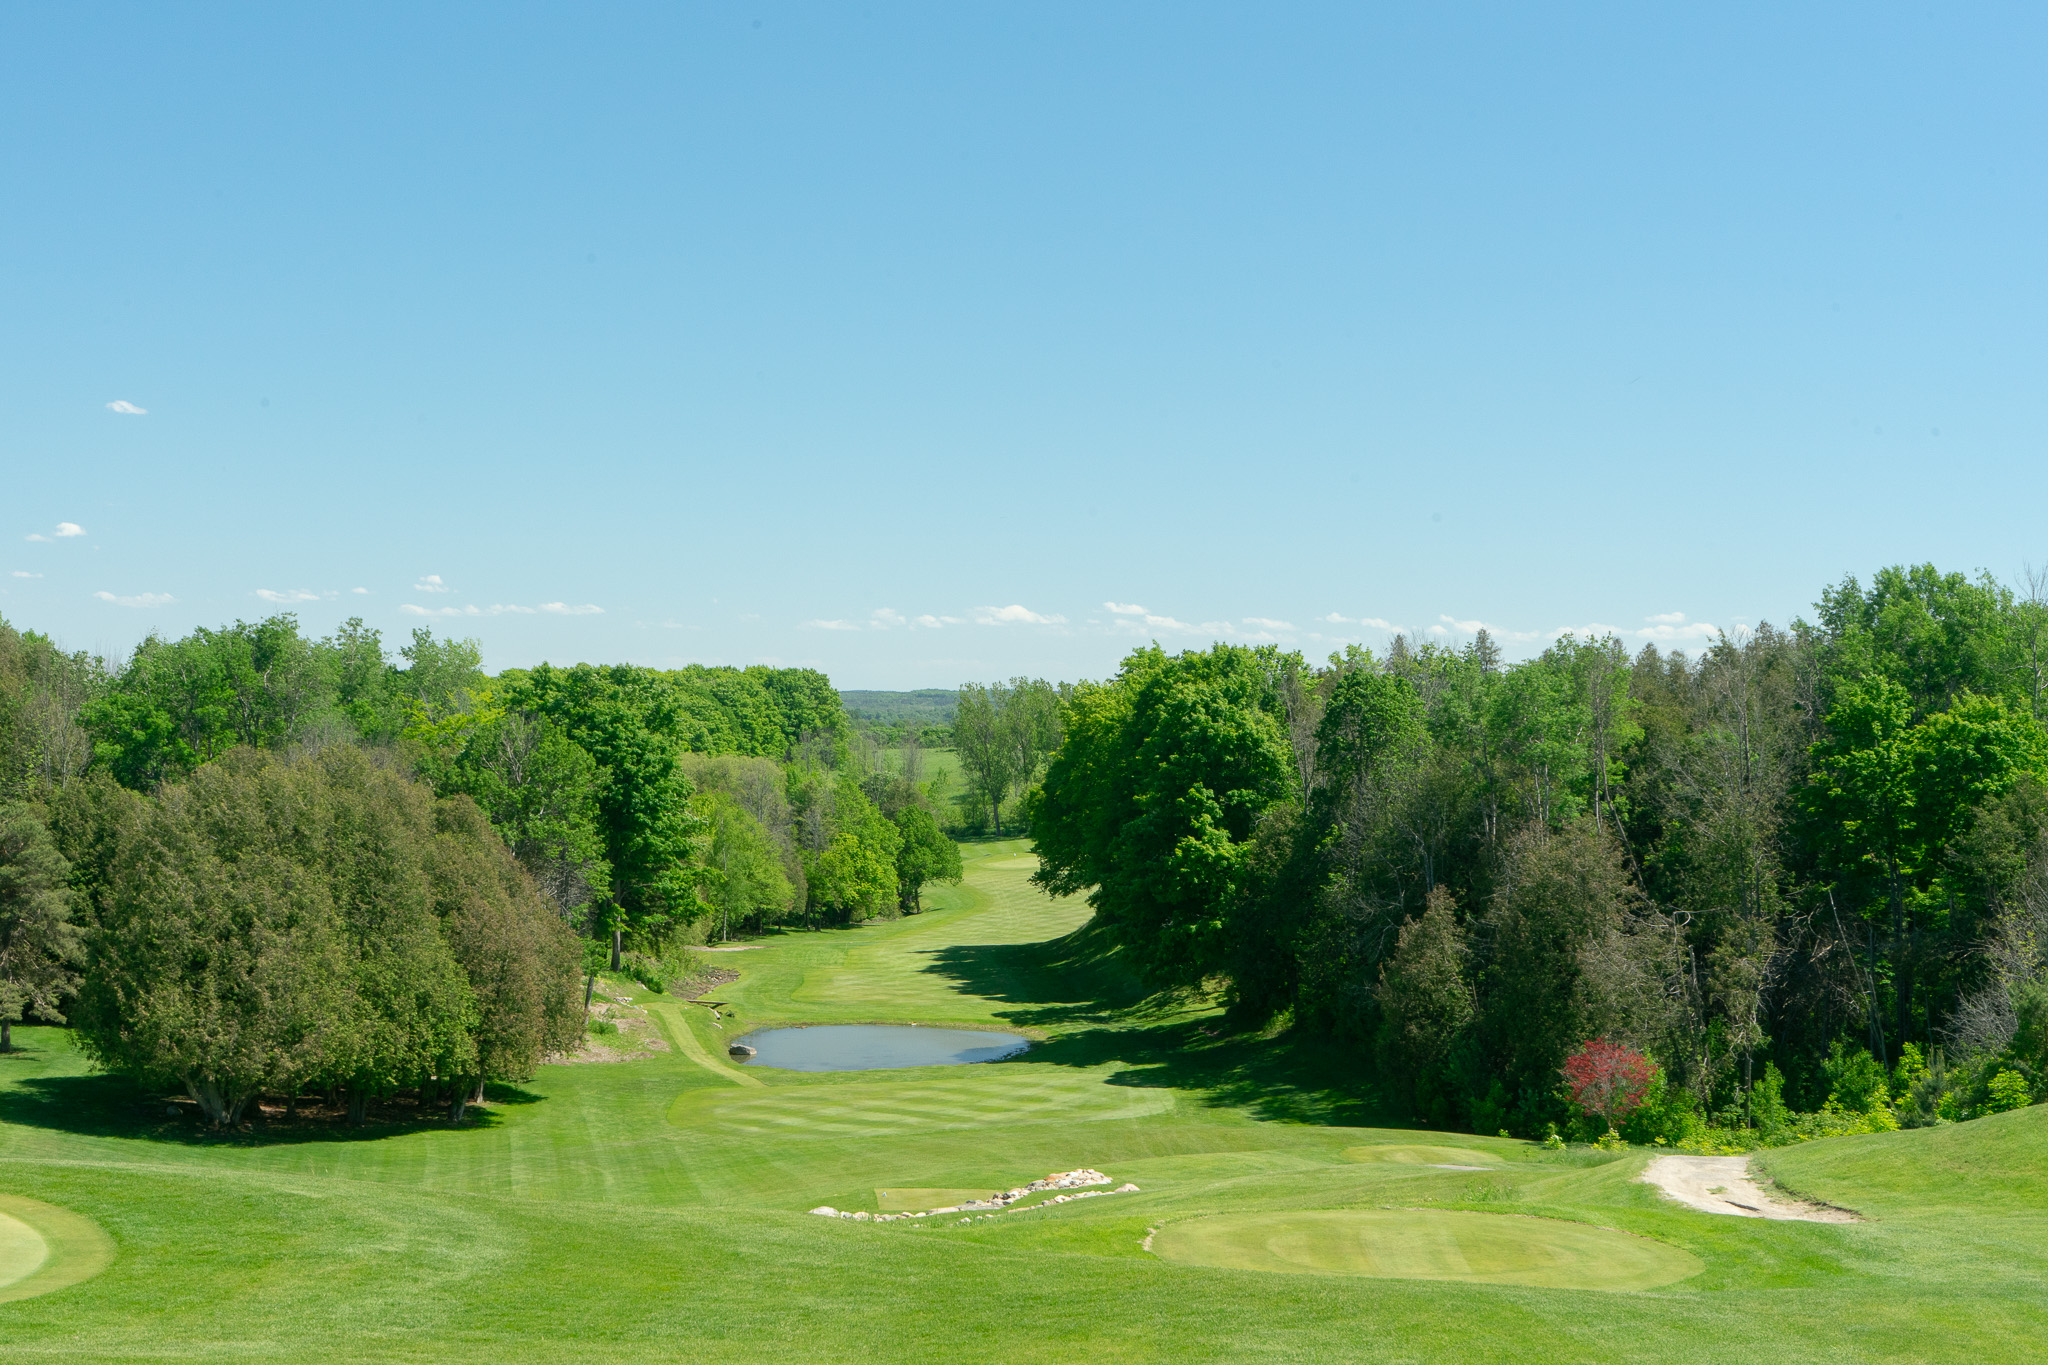
Hole 3: Par 5, 500 yards (Blue) / 280 yards (White)
Hole 12: Par 5, 550 yards (Blue) / 405 yards (White)
Hole 3 is a tight par 5. Golfers are immediately challenged with a tough tee shot lined by trees. Precision over power might be the key here, as negotiating the narrow fairway sets the tone for a solid score.
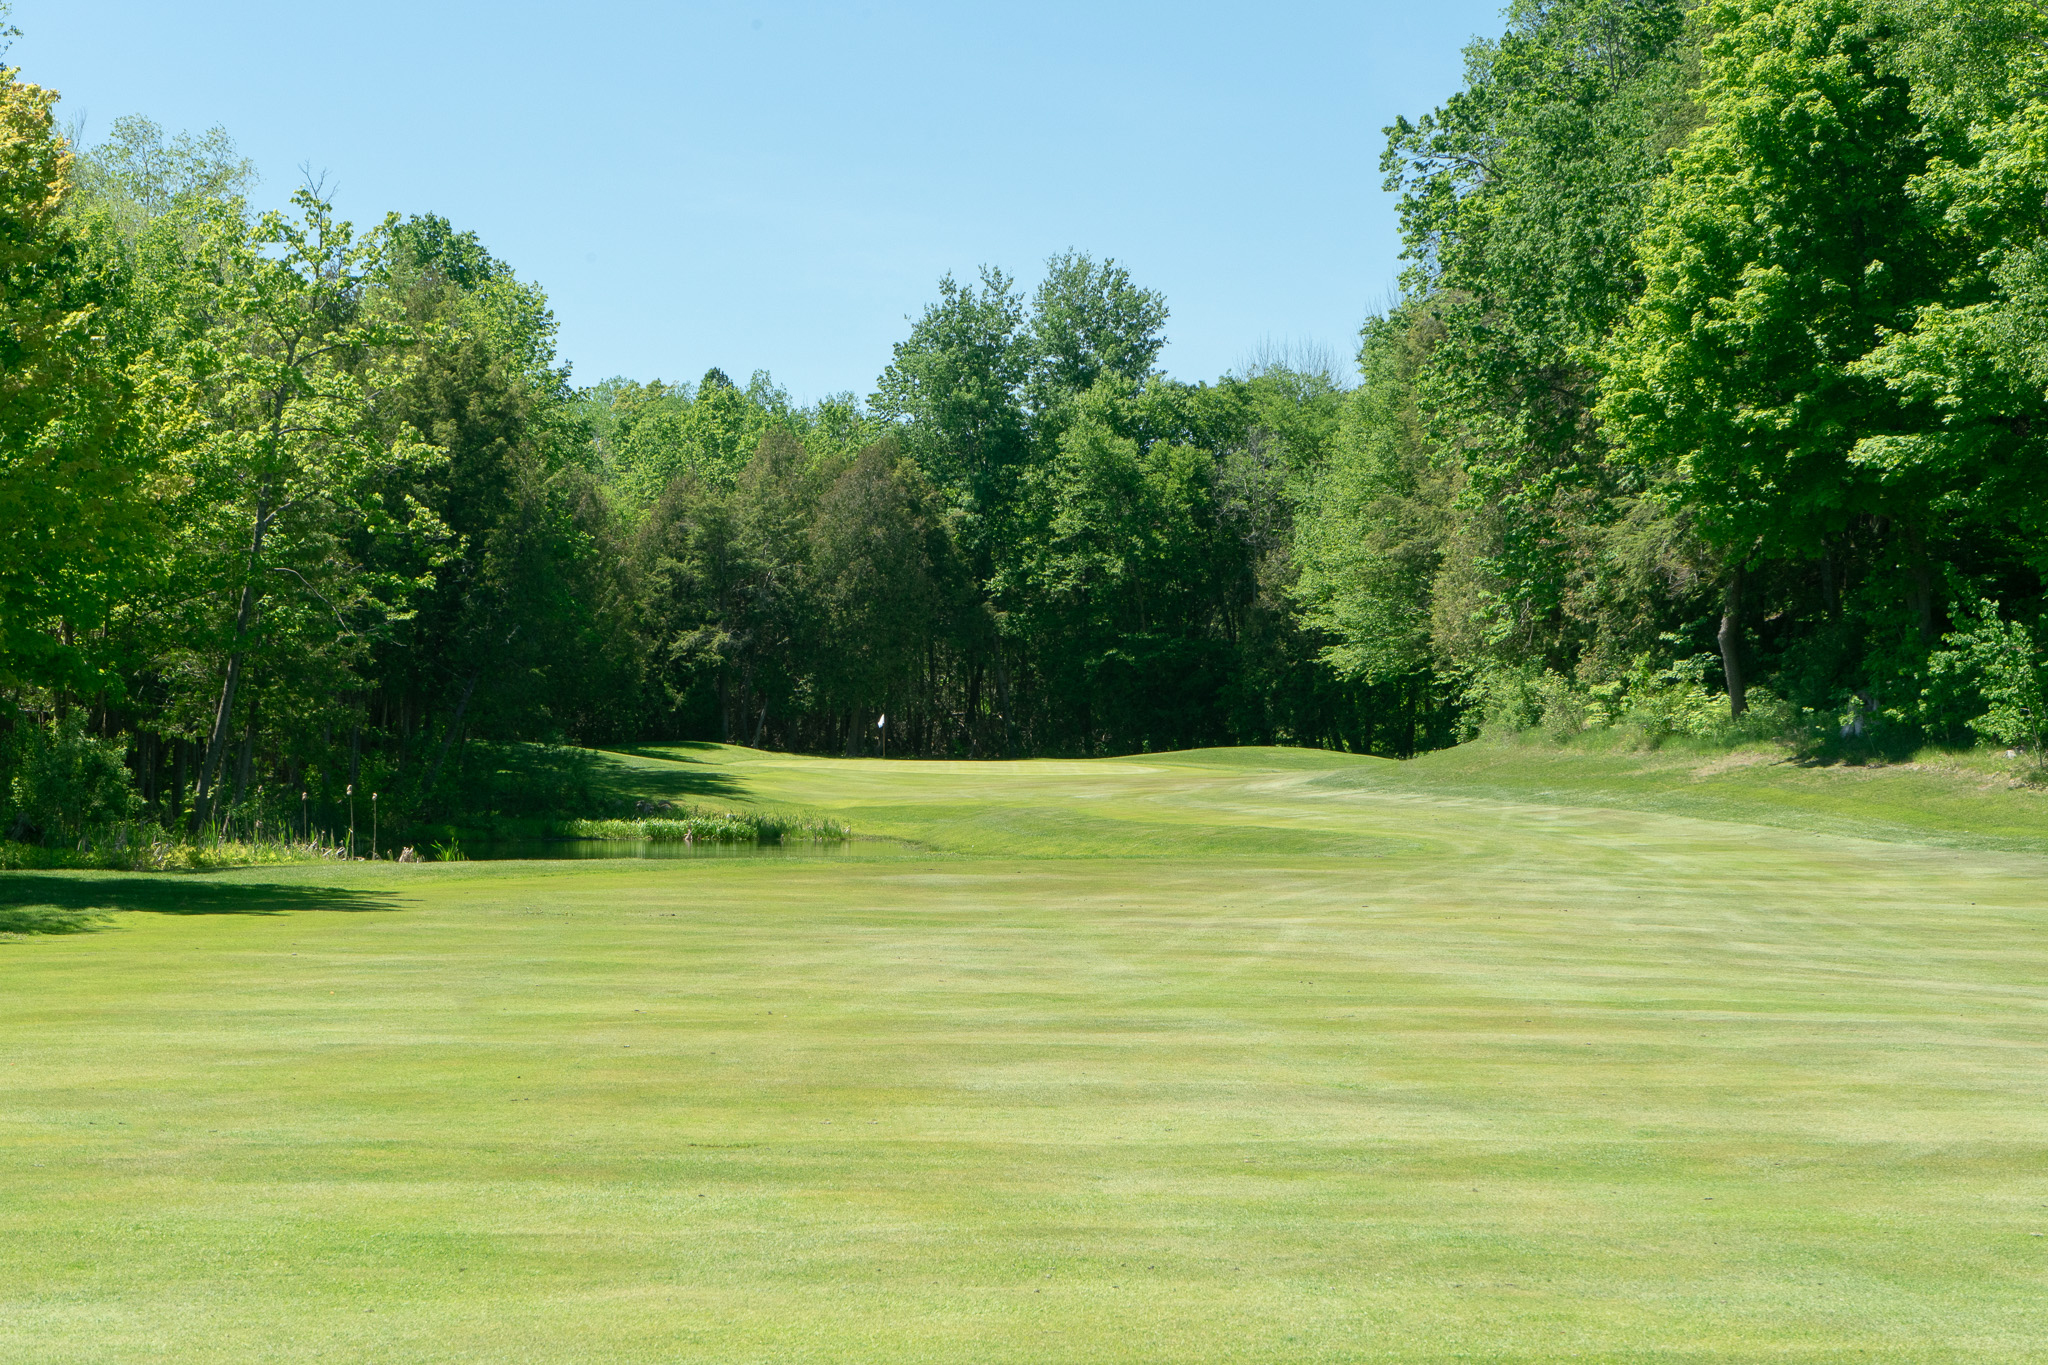
Hole 4: Par 4, 325 yards (Blue) / 270 yards (White)
Hole 13: Par 4, 365 yards (Blue) / 315 yards (White)
The fourth hole is a classic dogleg left with an intricate twist—water hazards guard the green. It calls for a brilliant drive and an astute approach. Keep your ball dry and your scorecard clean
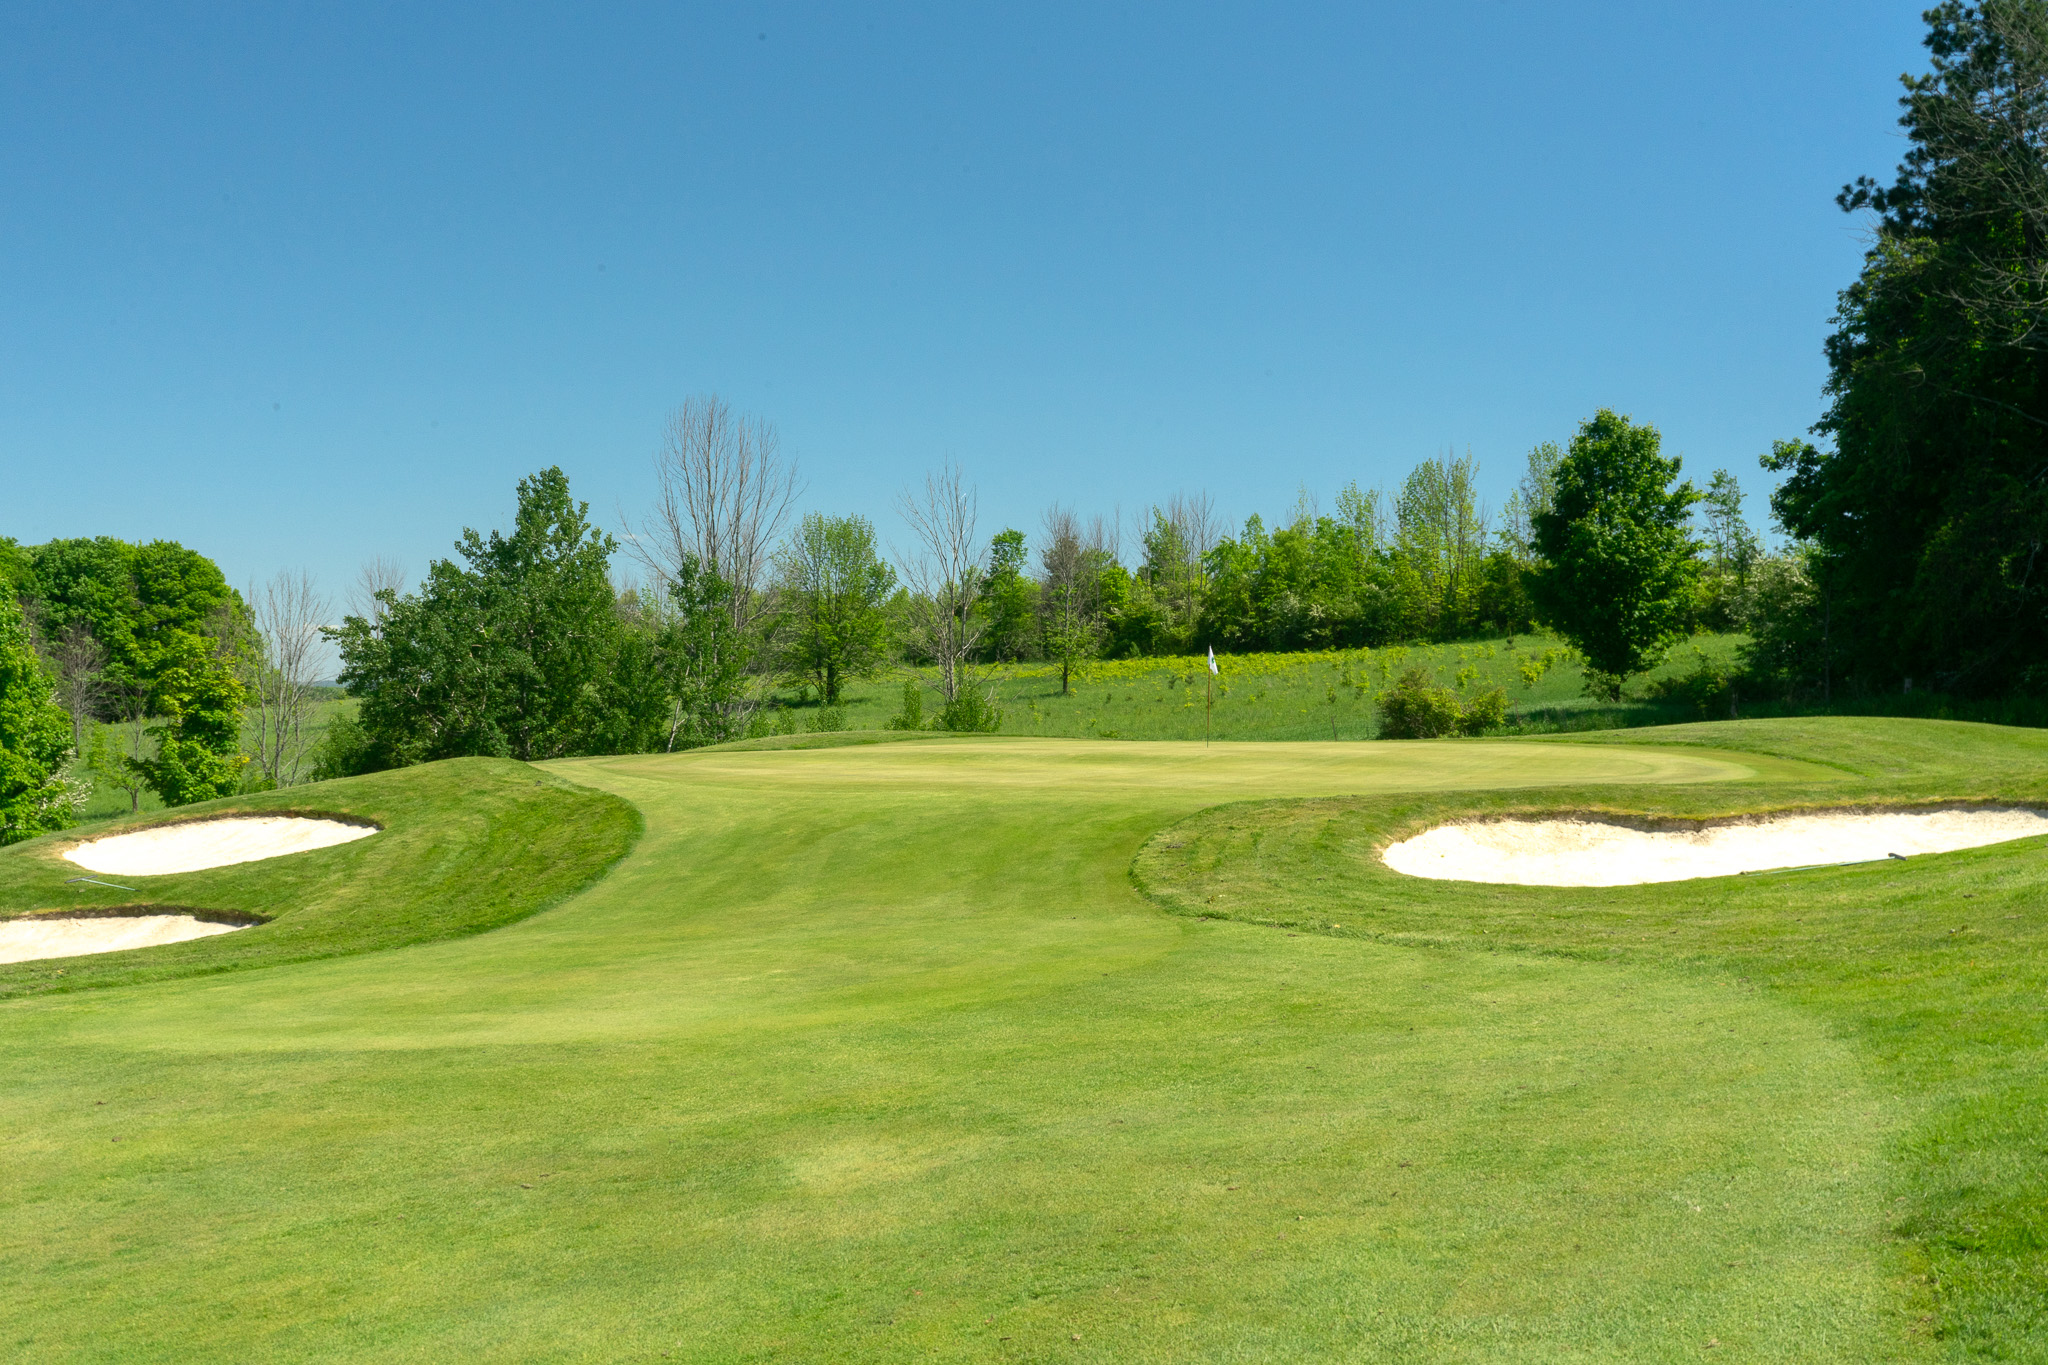
Hole 5: Par 4, 330 yards (Blue) / 270 yards (White)
Hole 14: Par 4, 315 yards (Blue) / 210 yards (White)
The fifth hole introduces a dogleg right. Players here must aim left off the tee to set up a reliable second shot. Be wary of the Fowler House—hitting it means forfeiting all bets for the day!

Hole 6: Par 3, 165 yards (Blue) / 100 yards (White)
Hole 15: Par 3, 200 yards (Blue) / 115 yards (White)
Hole 6 boasts an iconic feature—a unique island tee box. This uphill par 3 traverses over water, offering a scenic yet challenging shot. Aim true and avoid those flower beds; otherwise, you’ll get a free drop but no closer to the hole.
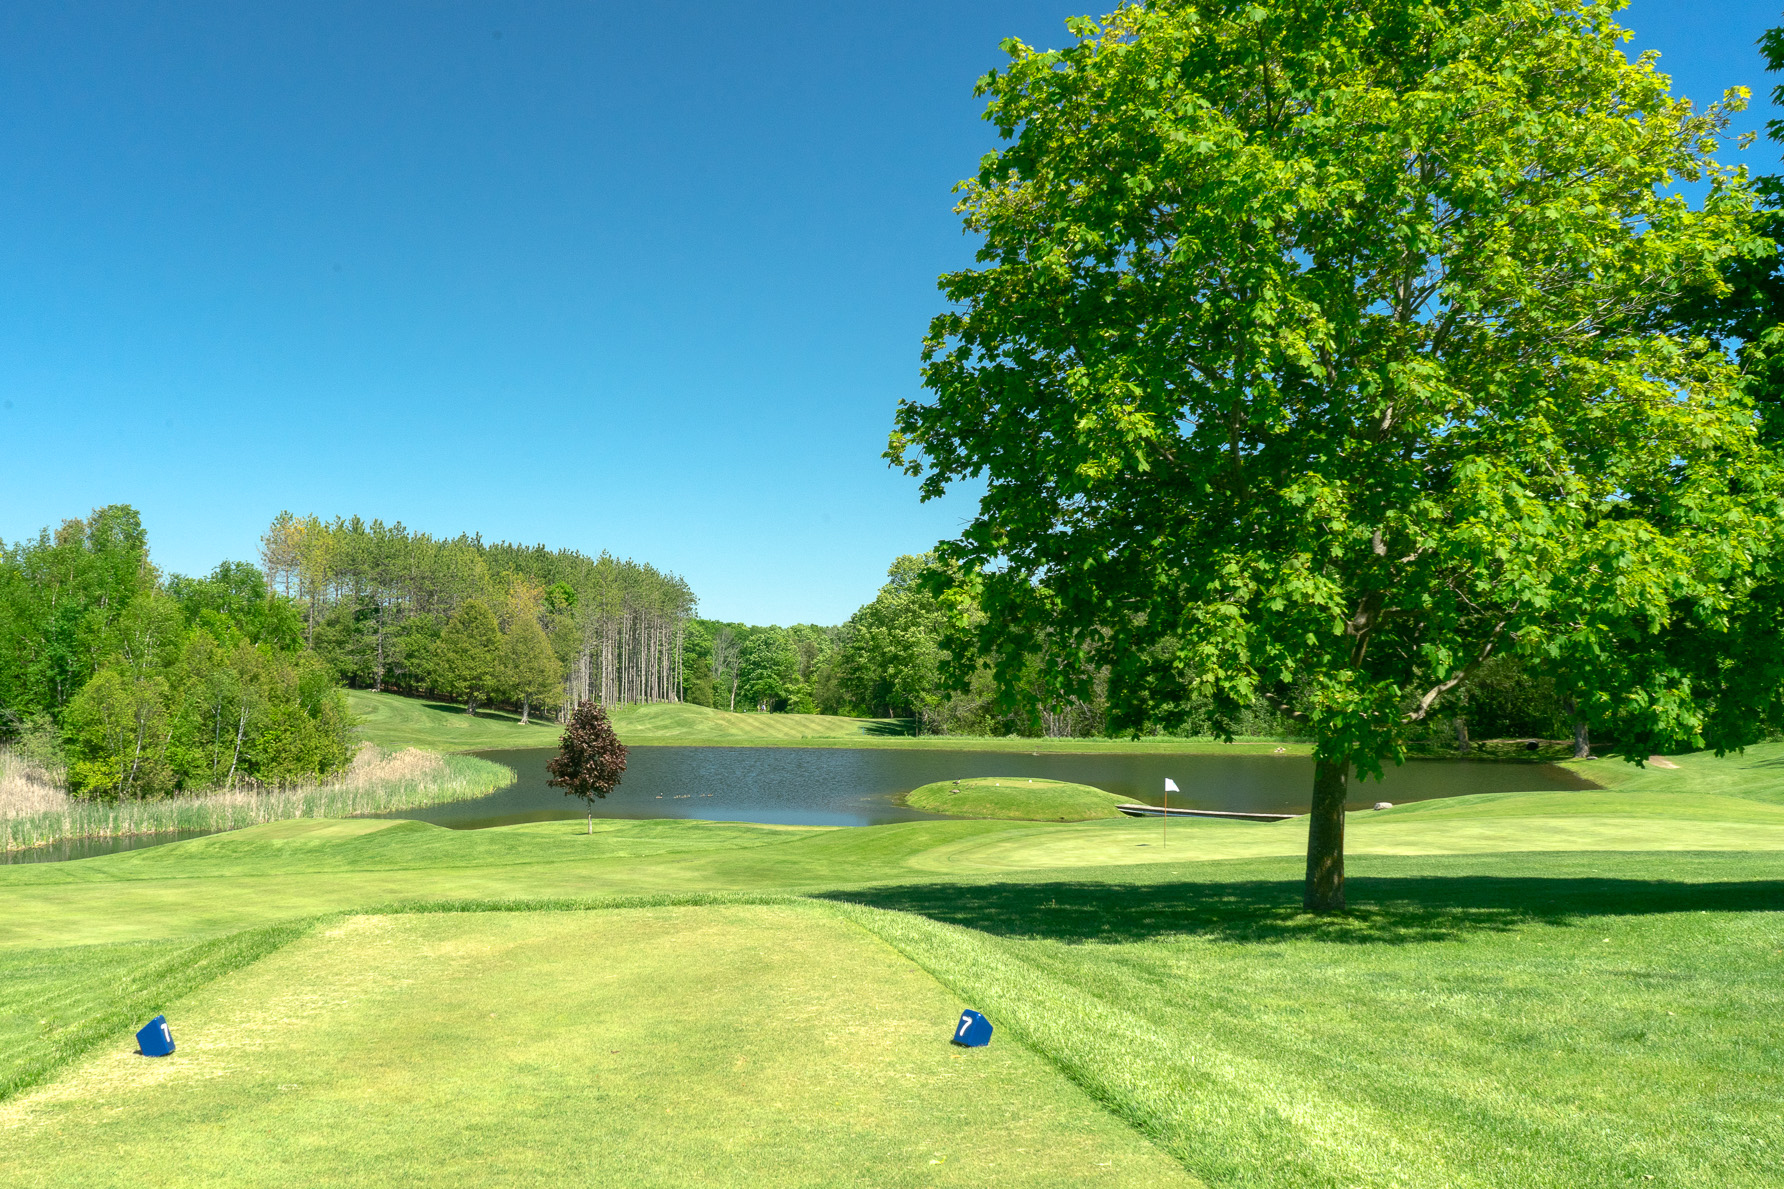
Hole 7: Par 4, 415 yards (Blue) / 275 yards (White)
Hole 16: Par 5, 465 yards (Blue) / 310 yards (White)
As the newest addition, the seventh hole is a tight par 4 with a surprise element—water just before the green. This calls for a tactical approach shot to avoid a watery grave
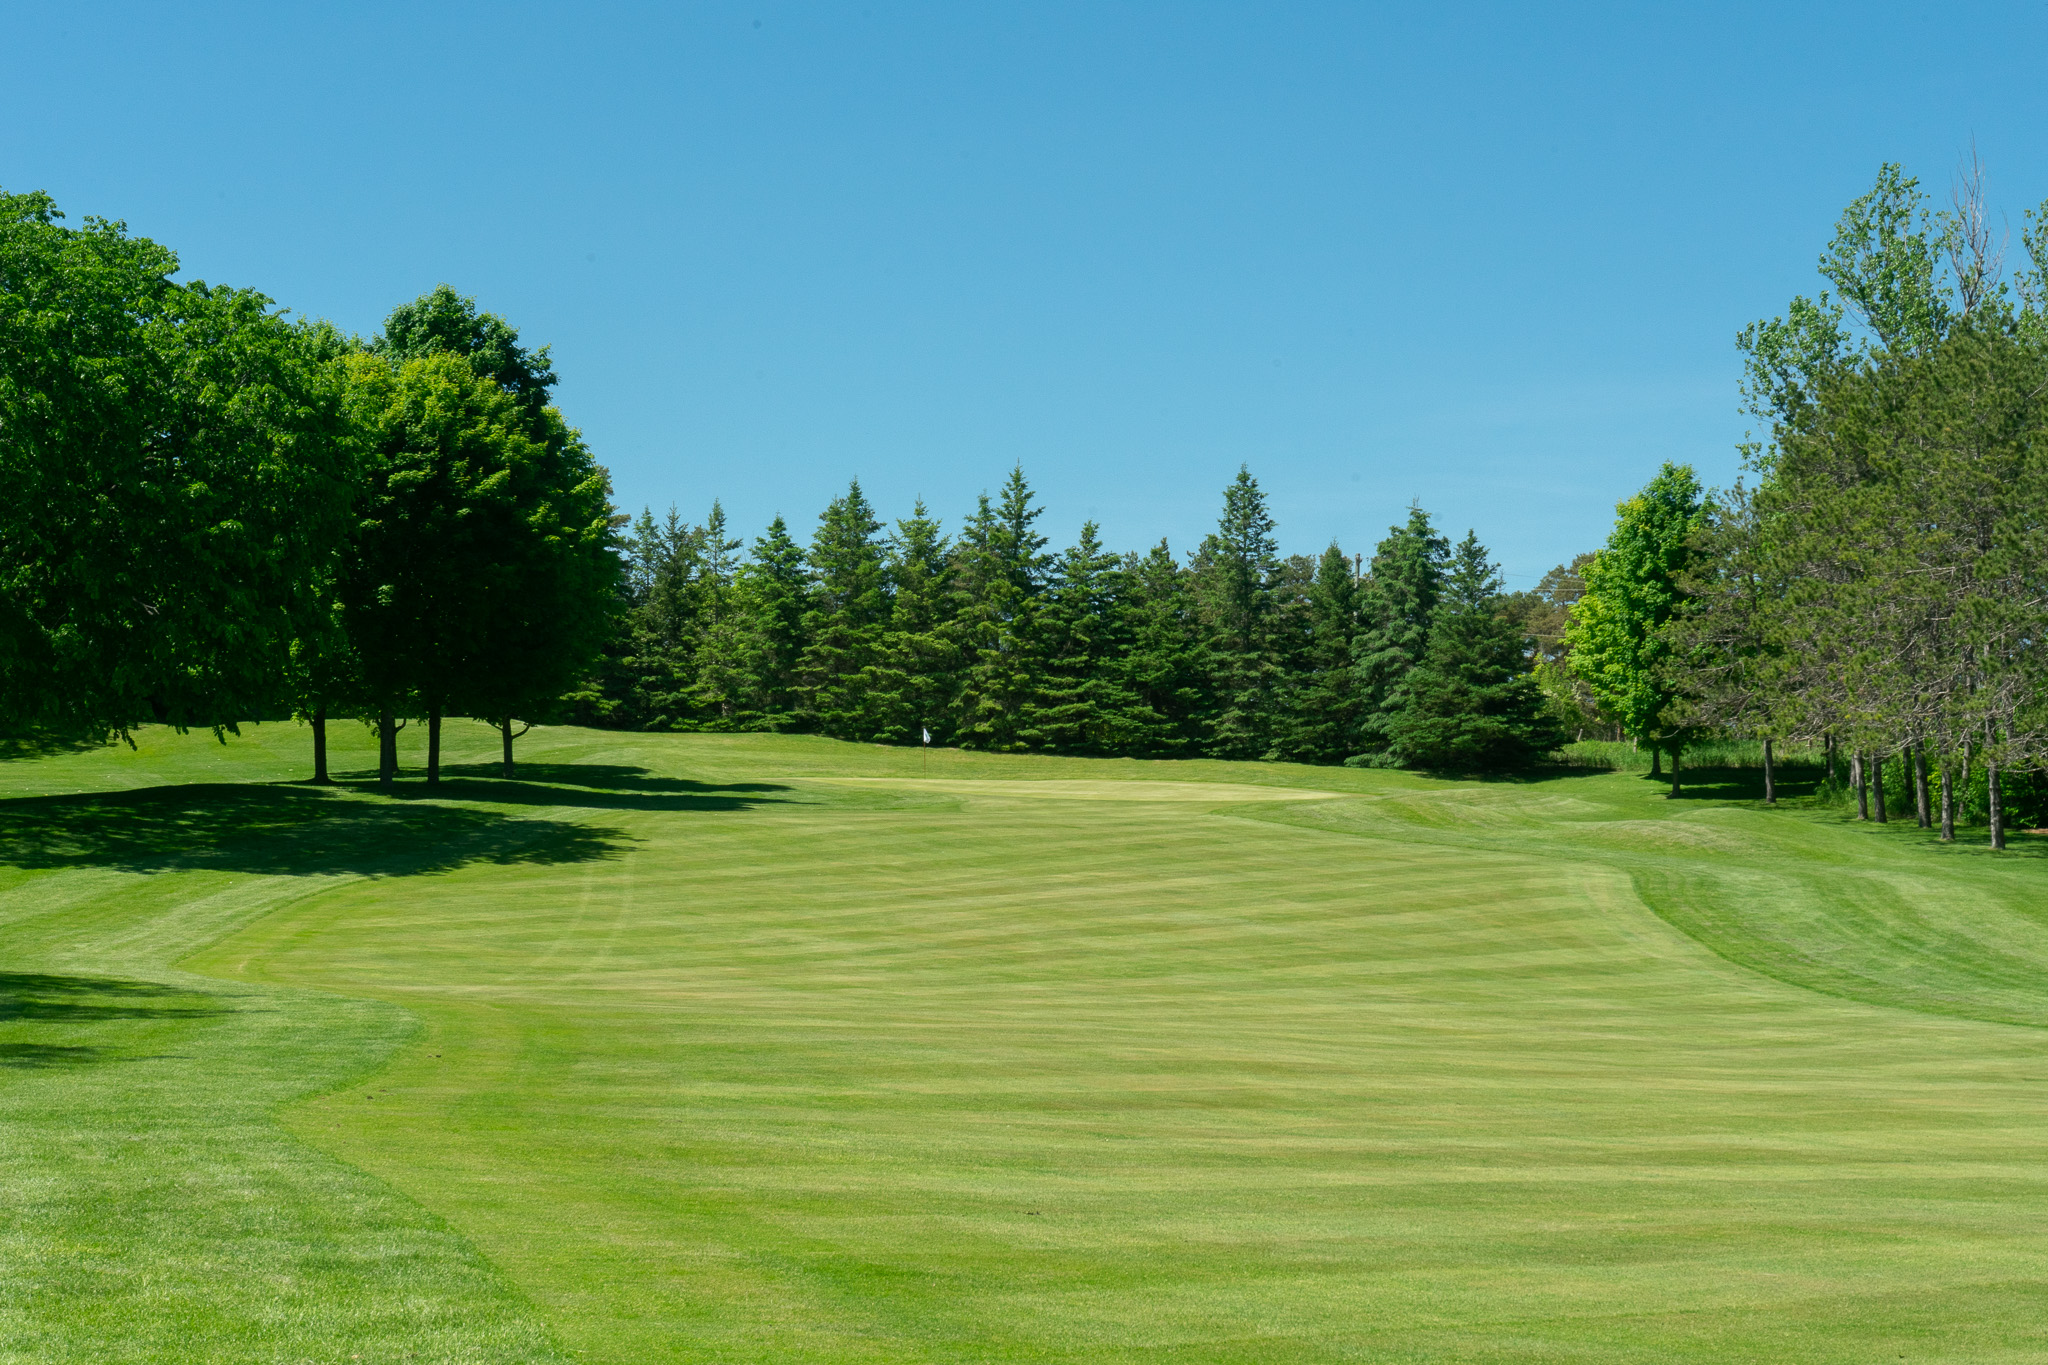
Hole 8: Par 5, 510 yards (Blue) / 400 yards (White)
Hole 17: Par 4, 410 yards (Blue) / 340 yards (White)
The eighth is a lengthy par 5—straight as an arrow. Distance players will love this, although staying on the fairway remains crucial to avoid any costly mistakes. Precision over power!
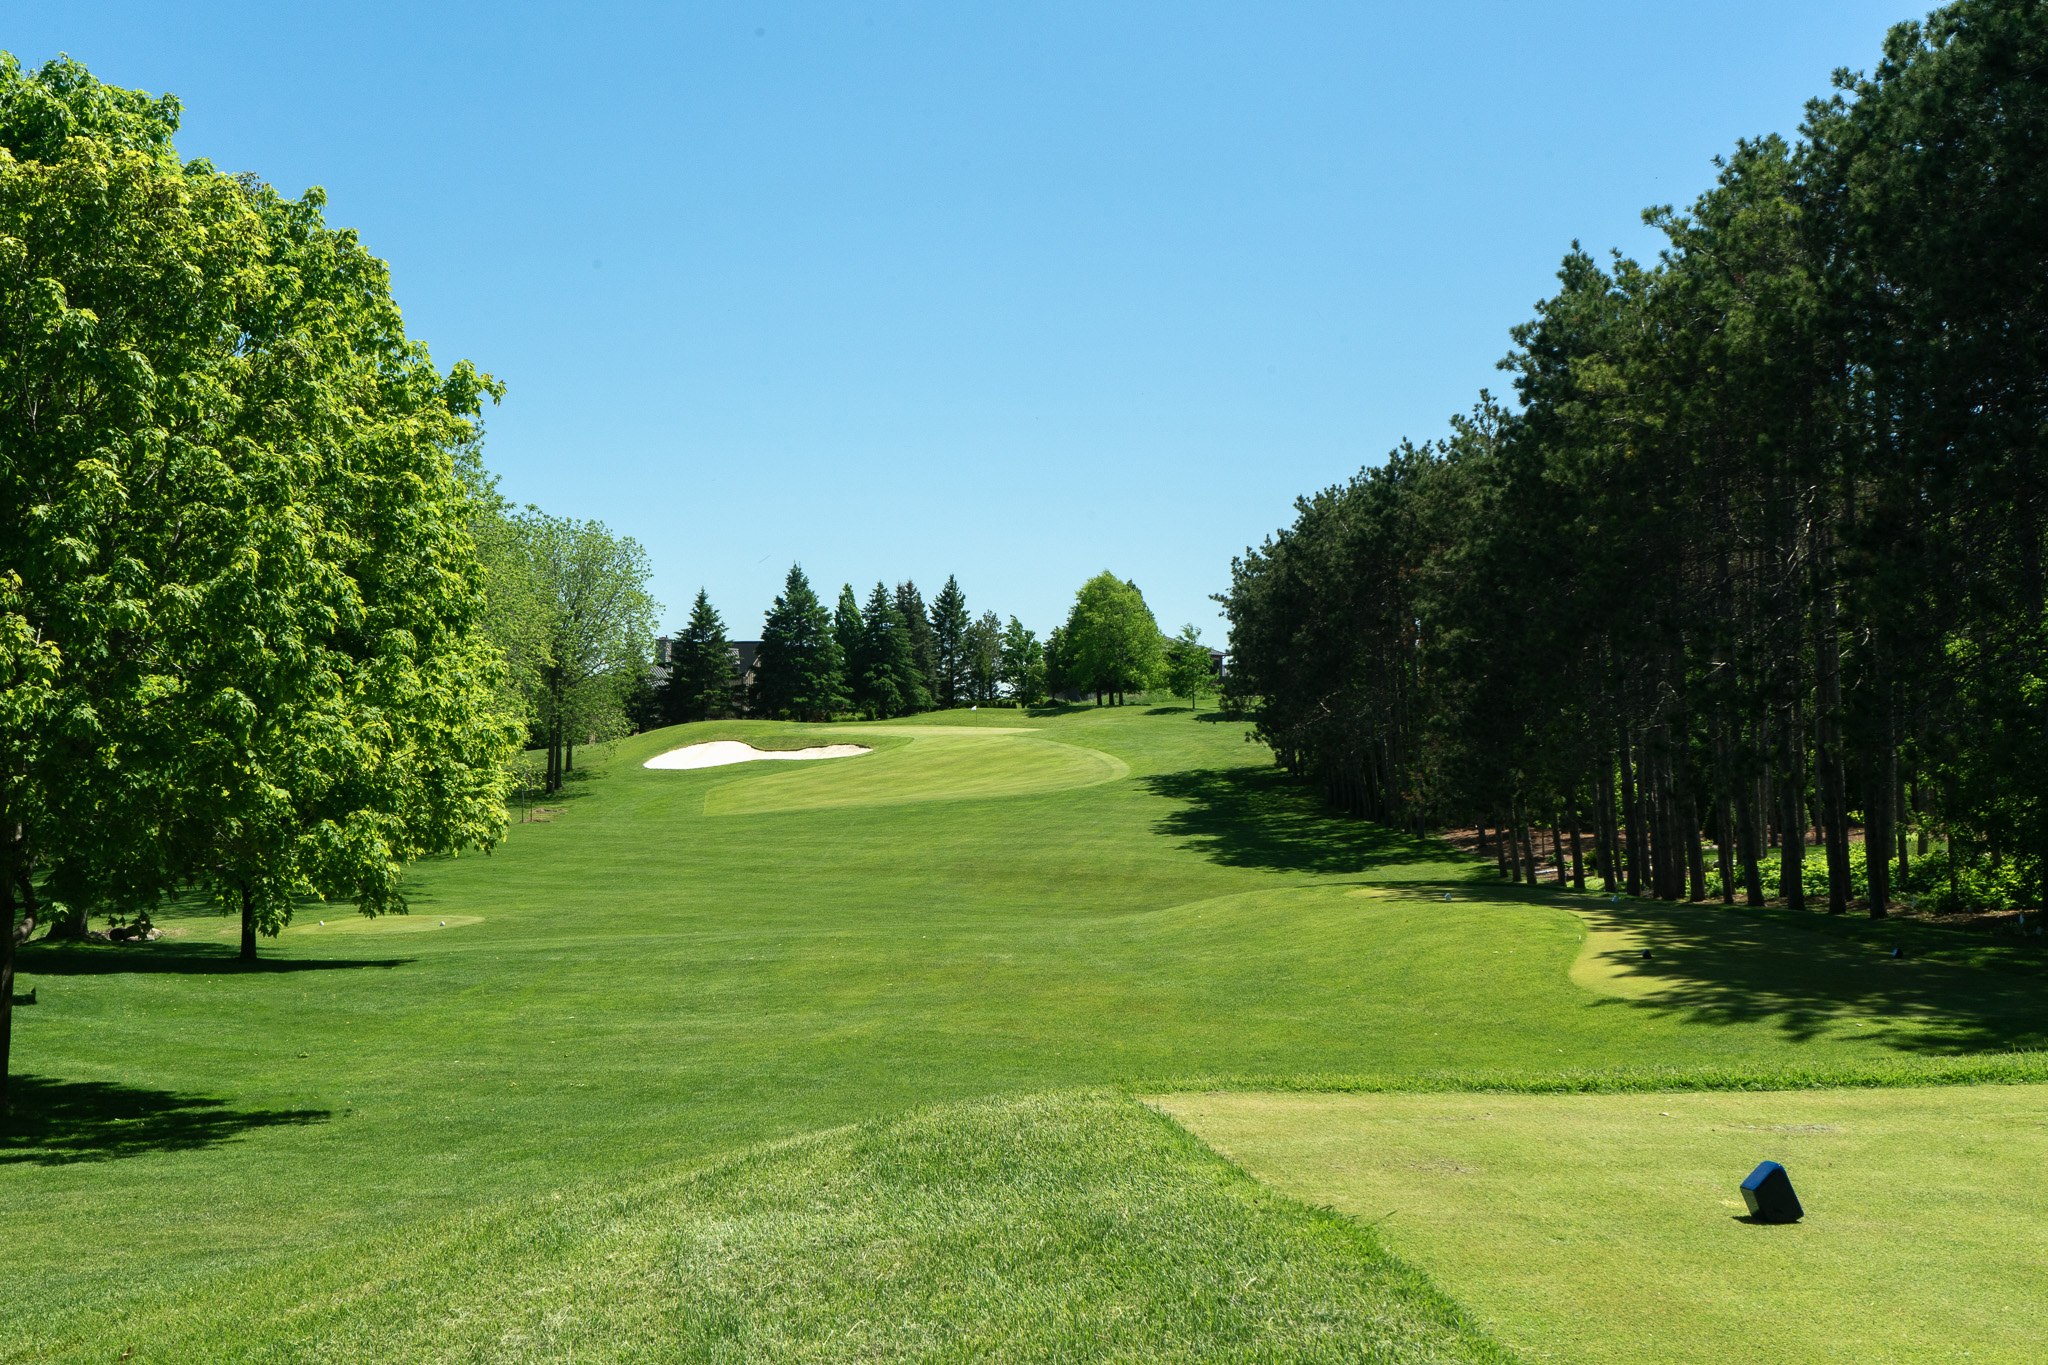
Hole 9: Par 3, 195 yards (Blue) / 155 yards (White)
Hole 18: Par 3, 175 yards (Blue) / 125 yards (White)
Wrap up your round with this long par 3. The green has a notorious false front and an elusive bunker. End with composure here to head into the back nine on a high note.
